> ## Documentation Index
> Fetch the complete documentation index at: https://docs.pornx.co/llms.txt
> Use this file to discover all available pages before exploring further.
# How AI image generation works on PornX
> Understand how the PornX image generator turns text prompts into images using models, LoRAs, styles, actions, and resolution settings.
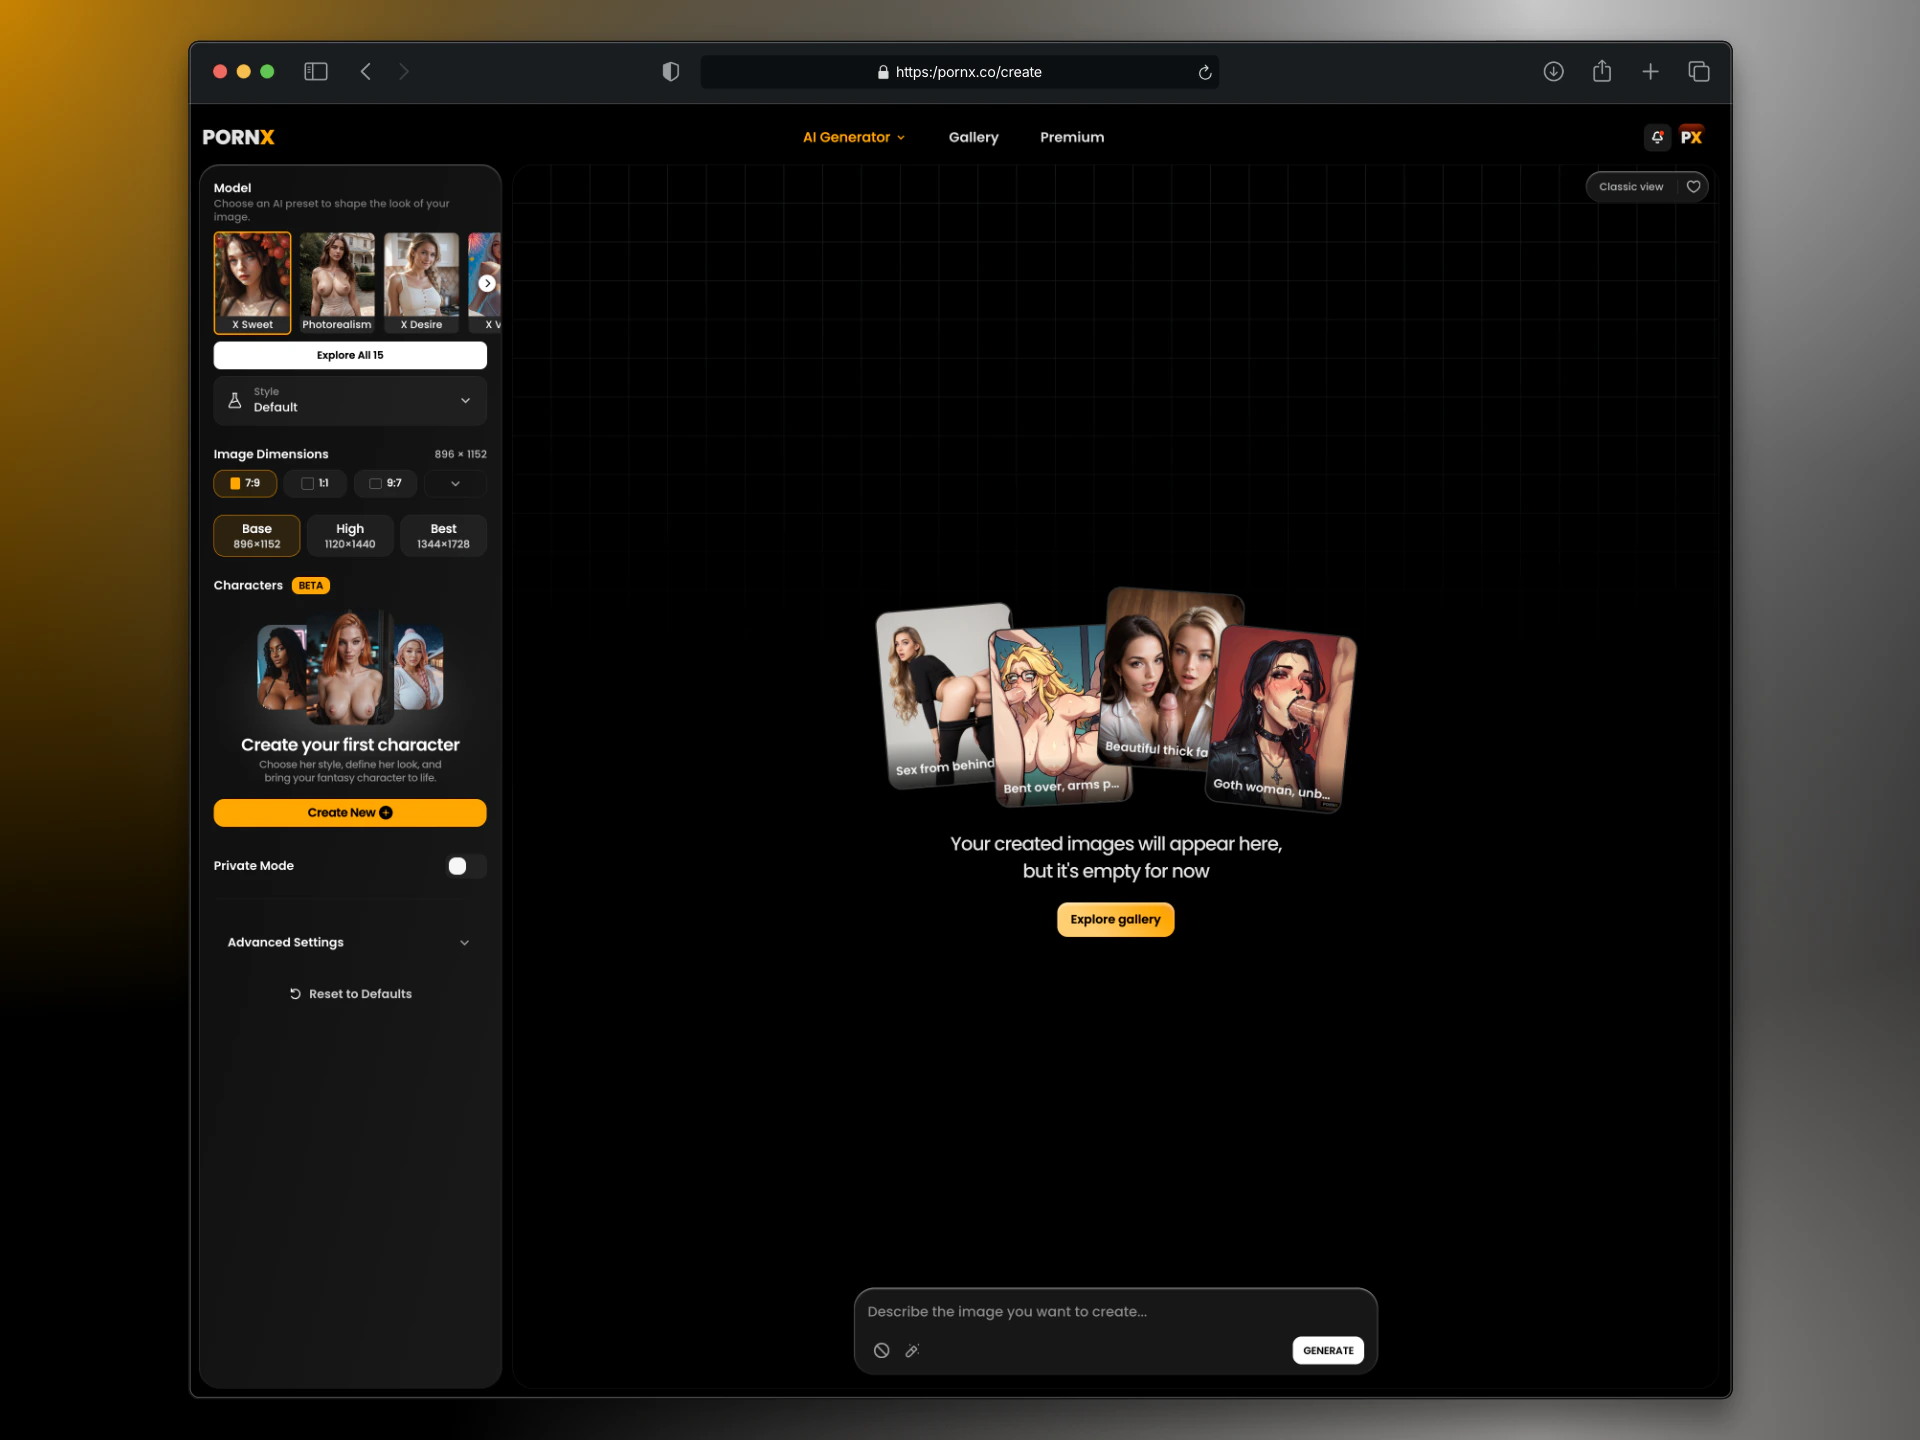
The image generator takes a text prompt and returns an image. Every setting you add — model, LoRA, Style, Action — narrows or shifts what that image looks like.
 ## The generation loop
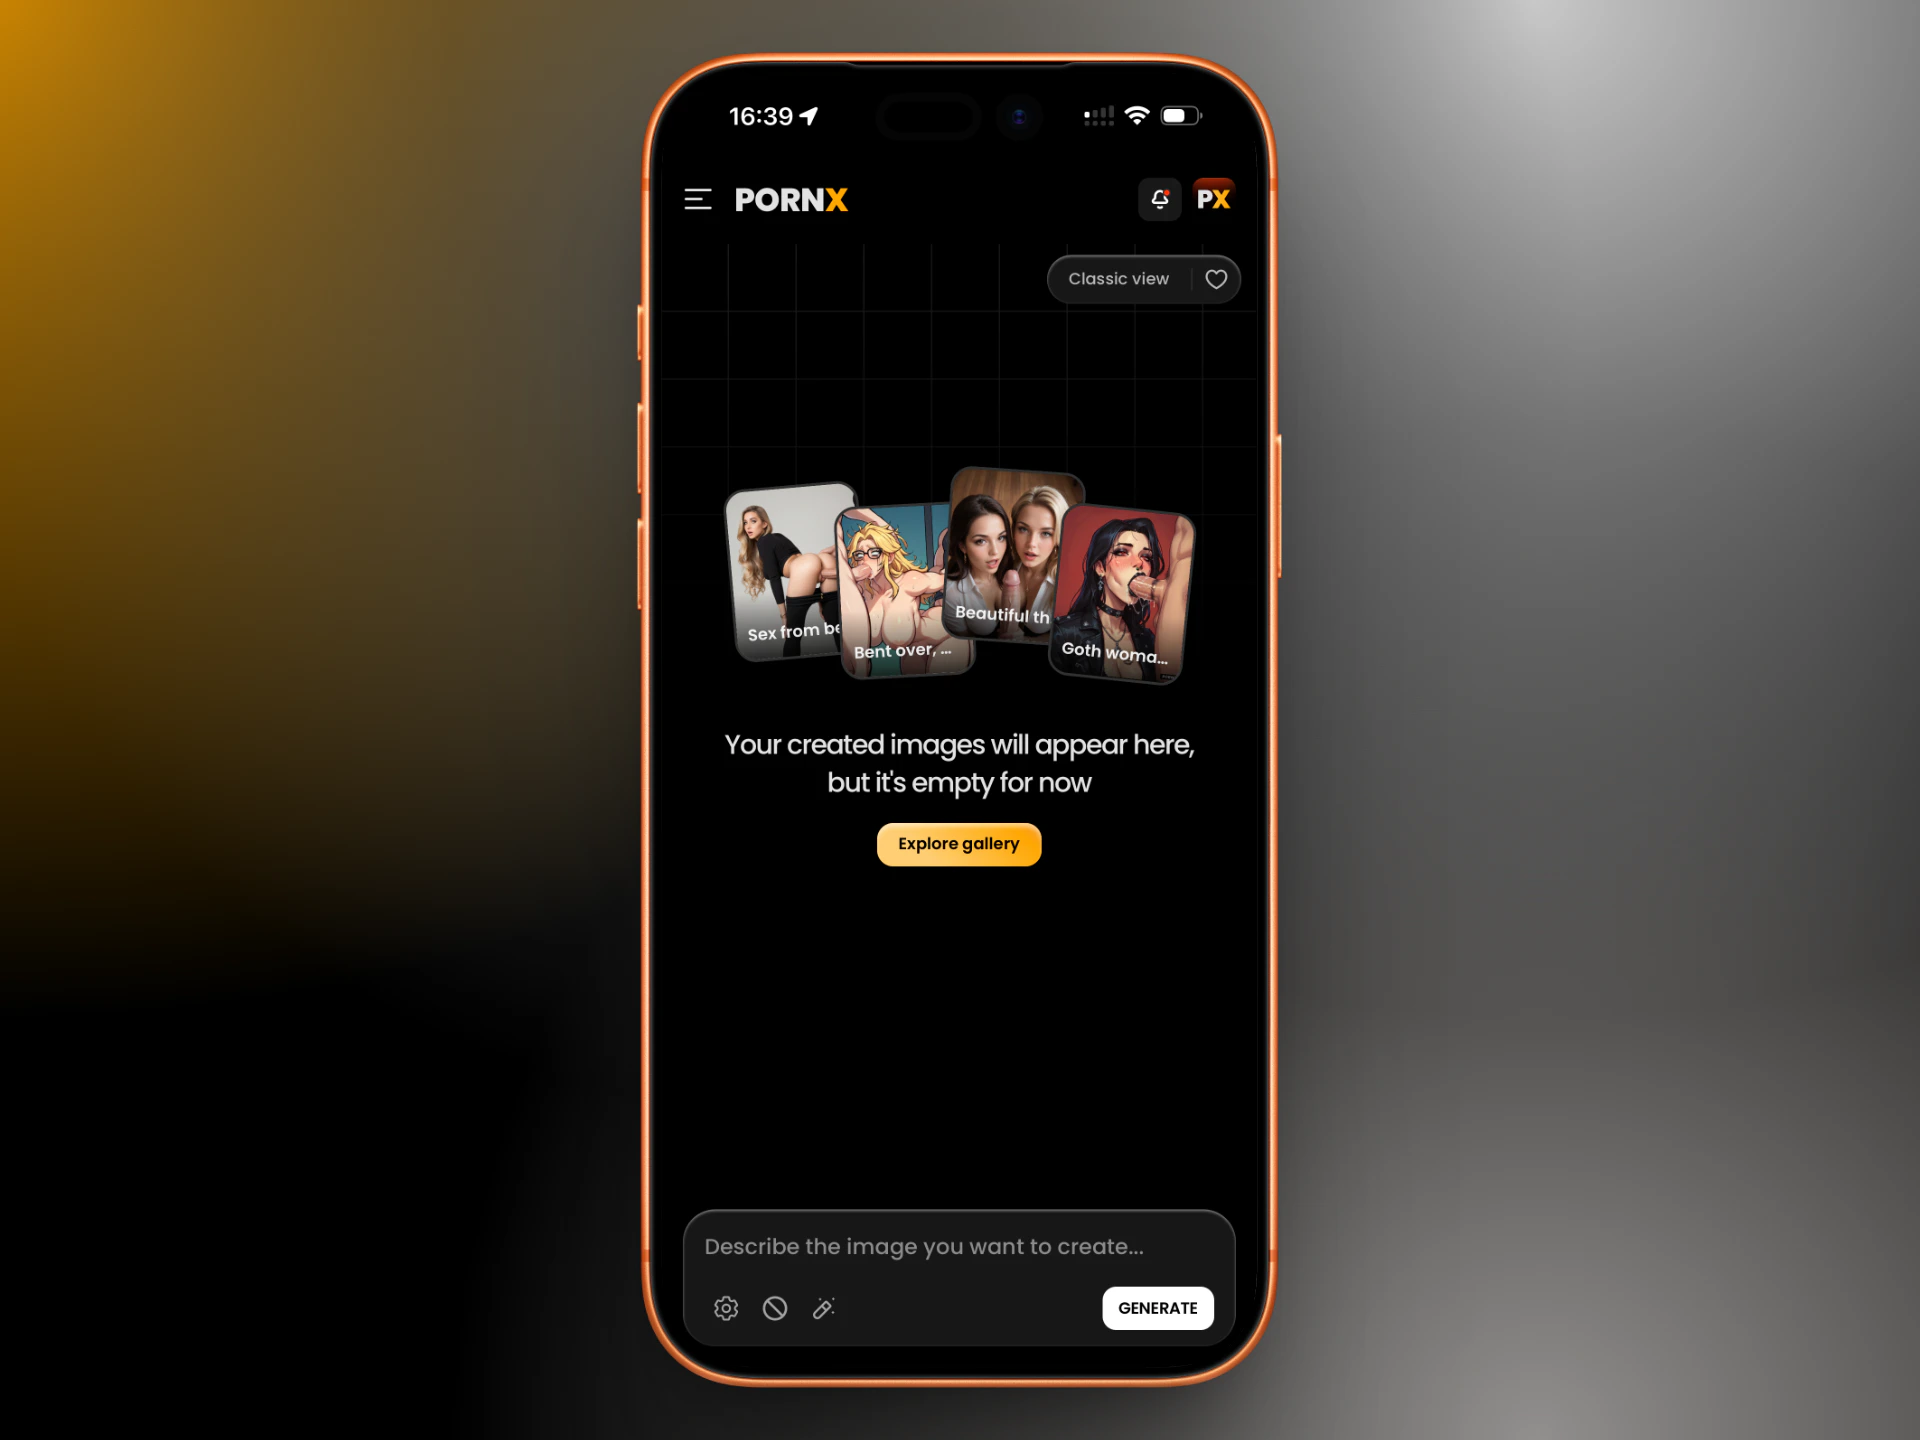
Describe what you want. Subject, action, setting, style. The more specific, the more predictable the result. See [Prompting Basics](/prompting/basics).
Each model has a distinct visual style. Realism for photographic output, Anime for illustrated, Cinematic for film-grade lighting, and so on. See [Models](/image-generation/models).
Layer on a LoRA, a Style pack, or an Action to push the output in a specific direction. These stack on top of the model — they don't replace it.
The default resolution works for most use cases. Change it if you need a specific aspect ratio or plan to animate the result. See [Parameters](/image-generation/parameters).
Click **Generate**. Results appear in your session. Run it again with the same settings to get variations, or adjust and re-run.
## What affects the output
| Setting | What it does | Where to learn more |
| ---------- | --------------------------------------------------- | ------------------------------------------ |
| Model | Sets the overall visual style | [Models](/image-generation/models) |
| LoRA | Adds a fine-tuned layer on top of the model | [LoRAs](/image-generation/loras) |
| Style | Applies a curated aesthetic pack | [Styles](/image-generation/styles) |
| Action | Applies a predefined content modifier | [Actions](/image-generation/actions) |
| Preset | Saves and reloads a full combination of settings | [Presets](/image-generation/presets) |
| Resolution | Controls output dimensions and aspect ratio | [Parameters](/image-generation/parameters) |
| Seed | Locks the random starting point for reproducibility | [Parameters](/image-generation/parameters) |
## Free tier
Free accounts can generate five images per day using Realism and Anime. All other models, LoRAs, Styles, Actions, InPaint, and Private Generation require Premium. See [premium](/premium).
## From image to video
Any image you generate can be used as the first frame of a video. This is the primary path into video generation — generate a strong first frame here, then animate it. See [Video: Workflow](/video-generation/workflow).
Pick the right model for your style.
Structure a prompt that gets consistent results.
Edit a specific area of any generated image.
Animate your image into a video.
## The generation loop
Describe what you want. Subject, action, setting, style. The more specific, the more predictable the result. See [Prompting Basics](/prompting/basics).
Each model has a distinct visual style. Realism for photographic output, Anime for illustrated, Cinematic for film-grade lighting, and so on. See [Models](/image-generation/models).
Layer on a LoRA, a Style pack, or an Action to push the output in a specific direction. These stack on top of the model — they don't replace it.
The default resolution works for most use cases. Change it if you need a specific aspect ratio or plan to animate the result. See [Parameters](/image-generation/parameters).
Click **Generate**. Results appear in your session. Run it again with the same settings to get variations, or adjust and re-run.
## What affects the output
| Setting | What it does | Where to learn more |
| ---------- | --------------------------------------------------- | ------------------------------------------ |
| Model | Sets the overall visual style | [Models](/image-generation/models) |
| LoRA | Adds a fine-tuned layer on top of the model | [LoRAs](/image-generation/loras) |
| Style | Applies a curated aesthetic pack | [Styles](/image-generation/styles) |
| Action | Applies a predefined content modifier | [Actions](/image-generation/actions) |
| Preset | Saves and reloads a full combination of settings | [Presets](/image-generation/presets) |
| Resolution | Controls output dimensions and aspect ratio | [Parameters](/image-generation/parameters) |
| Seed | Locks the random starting point for reproducibility | [Parameters](/image-generation/parameters) |
## Free tier
Free accounts can generate five images per day using Realism and Anime. All other models, LoRAs, Styles, Actions, InPaint, and Private Generation require Premium. See [premium](/premium).
## From image to video
Any image you generate can be used as the first frame of a video. This is the primary path into video generation — generate a strong first frame here, then animate it. See [Video: Workflow](/video-generation/workflow).
Pick the right model for your style.
Structure a prompt that gets consistent results.
Edit a specific area of any generated image.
Animate your image into a video.